Attics, the often overlooked regions above our ceilings, play an essential role in a home’s energy efficiency. A properly insulated attic may dramatically cut heating and cooling costs, increase year-round comfort, and even prevent ice dams from forming on your roof.
This post covers attic insulation installation, providing the information you need to make informed decisions about your house.
Why Is Attic Insulation Important?
Attic insulation is vital for keeping your home energy efficient. It functions as a barrier, preventing warm air from escaping during the winter and hot air from entering during the summer, moderating inside temperatures. But how does this affect your energy bills?
The solution is simple: when your home is adequately insulated, your heating and cooling systems work less hard to maintain a suitable indoor temperature.
What was the result? Lower energy consumption means lower energy expenses. So, if you’ve been wondering why your energy costs spike during harsh weather, the answer could be right above your head.
Importance of Attic Baffles
Aside from improving and regulating airflow, baffles for your attic have other benefits, including:
Moisture Prevention
Humidity in your attic can harm its structural integrity, but baffles help keep toxic air out of your home. Excess moisture can generate the musty odor often associated with attics; thus, baffles help keep that odor from entering the interior.
Mold, mildew, and decay prevention
Excess moisture in the air can promote the growth of mold, mildew, and bacteria, rendering your attic a health risk. Installing baffles in your attic prevents humid air from seeping into the insulation and wooden support beams.
Soffit Protection
Soffits can gather loose insulation, obstruct vents, and make air circulation difficult. Attic baffles protect your soffits from vent blockage.
Types of Attic Insulation
There are several choices for attic insulation. Let us analyze them.
Blanket Insulation
Blanket insulation, as the name implies, is in blankets or rolls. It is often constructed of fiberglass or mineral wool.
Blanket insulation is simple to install and inexpensive, making it an excellent choice for DIY enthusiasts. However, it necessitates precision cutting and fitting, particularly around obstacles such as pipes and cables.
Loose-fill insulation
Loose-fill insulation comprises small fiber particles such as cellulose or fiberglass. It’s blasted into the attic with an insulation blower. Loose-fill insulation is ideal for insulating areas with irregular joist spacing or obstacles. However, it may settle with time, lowering its insulating efficacy.
Spray Foam Insulation
Spray foam insulation is a recent technique that involves the application of polyurethane foams. It comes in two varieties: open-cell and closed-cell.
Spray foam provides good coverage and insulation, but installation requires specialized equipment and skill. It is also typically more expensive than other sorts.
Sheet Insulation
Firm boards made of synthetic or natural materials are the finest way to insulate the underside of your roof. The boards provide excellent insulation for your loft space and can be embellished. However, sheet insulation is typically the most expensive option.

The Attic Insulation Installation Process | Step-By-Step
By adding or improving the loft insulation, you’re attempting to extend the time your house retains heat. Thus, shielding that insulation from water vapor inside your home and wind wash makes sense.
If you can accomplish that, condensation problems like mold, dampness, and rot will be less likely to occur, and your insulation will function more effectively. Consider it as if you are wearing a wool sweater and a breathable waterproof coat before heading out for a rainy stroll.
Without the waterproof layer, the wool sweater would absorb a lot of moisture before you felt wet, but you could stay outside all day long if you could prevent the moisture from entering the wool in the first place.
1-Installing Insulation
Clear the loft region; if there is any insulation, I would advise removing it. Next, vacuum the loft area to remove any small pieces of insulation and dust that might prevent the sealing tapes (specified in a later stage) from sticking.
2-Installing Insulation
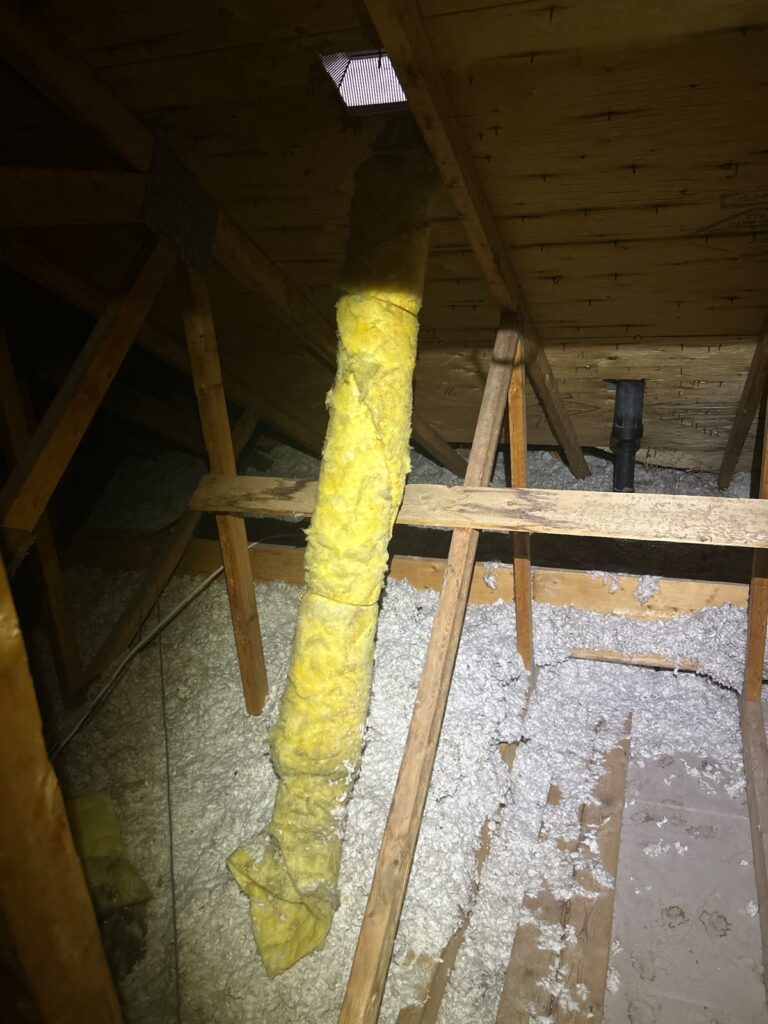
If your home has eaves vents, you must ensure they are not blocked. To preserve the ventilation space, you may need to install eaves ventilation spacers or vent protectors or thin the insulation as it approaches the eaves (see the last image on this page). These fit between the rafters and are available for purchase in a rehabilitation project.
Recessed lights that penetrate the ceiling must be enclosed in airtight, fireproof enclosures, such as fire hoods, to prevent overheating and fire. Water vapor can enter through the light fixture if not covered and sealed.
In the past, electricians removed the insulation surrounding the recessed lighting, leaving some loft spaces uninsulated. Additionally, you ought to swap out your conventional bulbs for LED ones because they last longer, run much more affordable, and don’t become as hot.
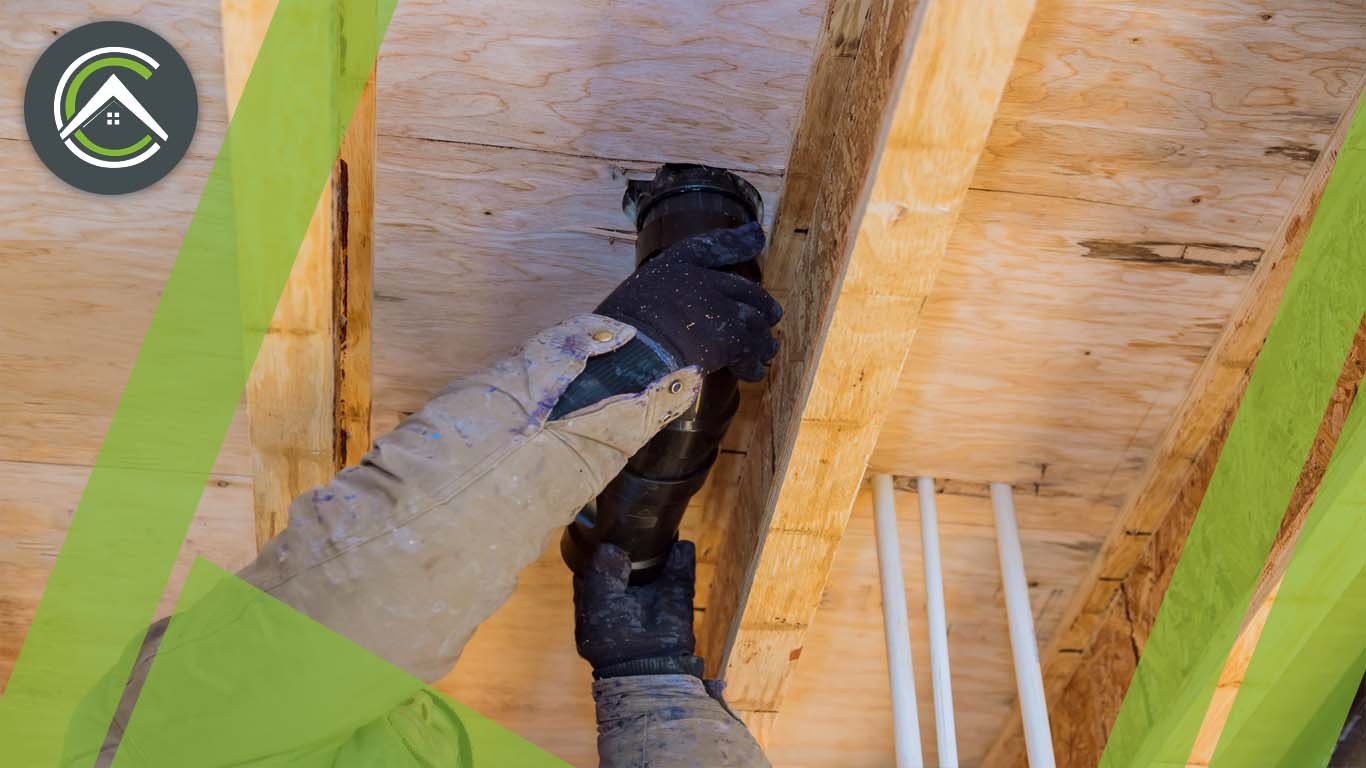
Airtight sealing will also require services like pipes and wires that pass through the ceiling.
3-Installing Insulation
Install a vapor control layer to allow a certain quantity of water vapor to pass through to the insulation during colder months and back out during warmer ones. It would be ideal if you could lay this all in one piece, but if you can’t, you’ll need to use high-quality jointing tape—not gaffer or parcel tape.
If a vapor barrier has not been built in the walls, the barrier must be sealed to the wall surface within the roof void. If there is not enough barrier at the edges, it cannot be sealed to any potential vapor barrier in the walls. This will create a suitable airtight closure.
The initial insulation layer should be laid into the pockets created by the vapor control layer going directly down into the spaces between the joists (see the last image on this page for an example). The insulation should be snug to the joists, leaving no spaces between them.
Using this technique, you may let the building dry out and lower your home’s risk of mold, condensation, and dampness.
While this can be used with conventional hydrophobic (man-made) insulation, I suggest using natural hygroscopic insulation instead, like wood fiber, since it will absorb and release water vapor more efficiently without compromising its effectiveness than man-made insulation, which will find it challenging to do so.
4-How to Install Insulation
Install the insulation (high-density batts work best because they won’t sag over time). To minimize the possibility of insulation gaps, place a second layer 200 mm thick (or 300 mm if you’d like) perpendicular to the first layer between the joists, the horizontal timbers that make up the loft area’s floor.
Insulating beneath a water tank situated on or near joists is not recommended since it increases the likelihood of freezing. In addition, you ought to install a well-fitting lid and insulate the water tank’s top and sides. You should insulate beneath your water tank if it is raised above the joists. Additionally, the loft area’s pipework needs to be well-insulated.
5- Installing Insulation
Installing extra joists or stilts to raise the final floor level is a good idea for creating storage space, a pathway to reach a water tank, etc. This will prevent the insulation from being compressed when you floor these parts and provide a tight seal without any gaps.
6- Installing Insulation
To lessen the chance of wind wash, place the breather membrane or air-tightness layer on top of the insulation and seal any seams and edges.
How To Install Attic Insulation Baffles?
Do you have questions about installing attic baffles? This simple attic baffle installation method can be used by do-it-yourself homeowners who wish to add baffles to their attic:
Step 1: Get Installation Ready
Before adding attic baffles, ensure you can readily reach your rafters. You might need to remove drywall or insulation, so use the right tools and personal protective equipment.
When you’re prepared to start baffle installation, make sure you have these tools on hand:
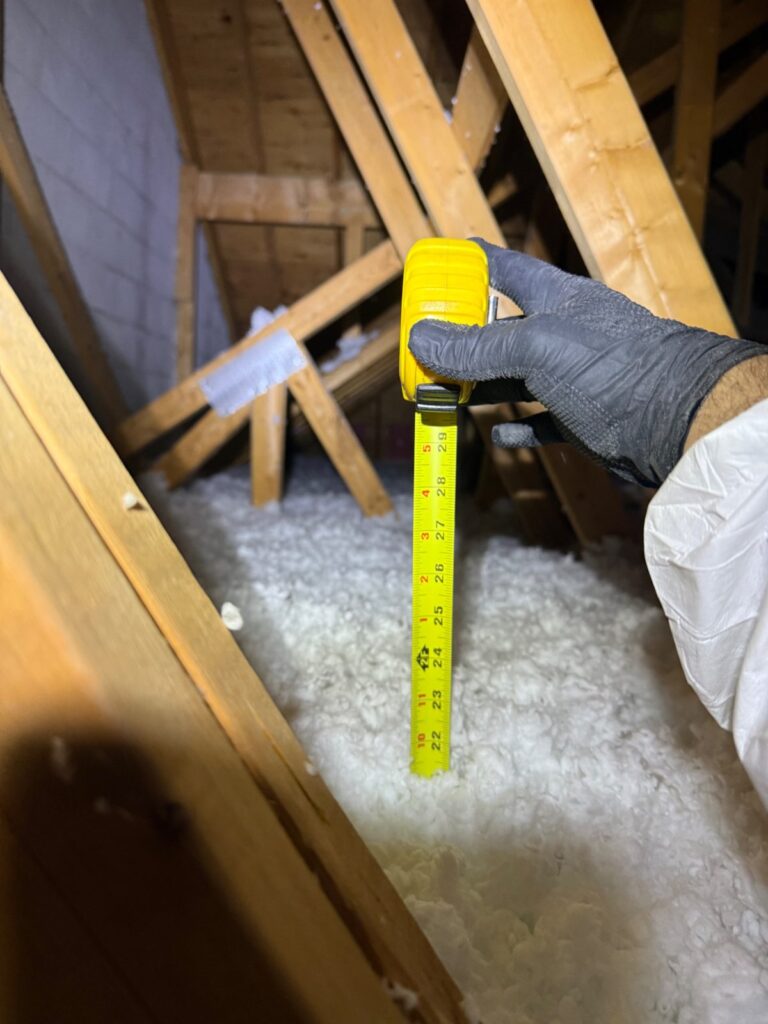
- Measurement tape
- caulk
- staple gun
- spray foam
- utility knife
Step 2: Calculate and Slice
After determining the distance between each rafter, cut the baffles to match. The bottom of each baffle should be positioned between the ceiling joist and each rafter, snugly fitting between them.
Step 3: Position and Fasten
Using your staple gun, align and fasten the baffles in place. To seal joints and stop air leaks, use caulk and spray foam. Overlap and fasten your baffles to each other for optimal protection.
Installing attic baffles could cost much money and effort, especially if you must buy the necessary tools. Ask a professional for assistance if you need to install them; your local contractor will have the required tools and supplies and experience installing them.
Attic Insulation Installation Cost Toronto
Depending on your insulation type, you may expect to pay between CAD$1.5 and CAD$3.50 per foot or CAD$1,700 to CAD$2,100 for attic insulation in Toronto area.
Spray foam insulation is the most expensive alternative but ideal for noise reduction in newly constructed buildings. Blown-in insulation, on the other hand, is the least expensive alternative and is ideal for older attics.
If you plan to insulate your attic, anticipate paying the contractor approximately $70 per hour. You should hire an electrician to ensure safe insulation around electric lines and junction boxes. As a result, you may need to pay an extra $85 per hour.
The total cost of professional insulation services will likely range from $1.50 to $3.50 per foot, depending on the intricacy of your attic insulation job, the extent of the work to be done, and the specific insulation material used.
Attic insulation is an excellent strategy for significantly reducing energy expenditures. Before calling a building contractor, it’s critical to understand the numerous insulation alternatives and how much each costs.
The cost of updating your attic insulation depends on various factors, including:
- The size of the attic is commonly calculated in square feet.
- The insulating material used in the attic
- Treatments are required before installing the insulating product
- The depth of the existing insulation
- Scope of the Project
Property owners can use alternative materials like structural insulated panels or reflective insulation. When selecting the appropriate insulation for your attic, remember that good insulation can reduce energy expenditures while keeping the house’s temperature stable.
Finding Qualified Attic Insulation Contractors
Investing in attic insulation improves your home’s comfort and energy efficiency. Partnering with competent attic insulation installers ensures a quality installation that maximizes insulating benefits.
Furthermore, taking advantage of energy efficiency rebates might reduce the investment’s overall cost. So, don’t wait any longer to improve your attic insulation and begin reaping the benefits of a more pleasant and energy-efficient house. Contact confirmedc today to learn more and set up your installation!
FAQs
What type of insulation is ideal for attics?
Several criteria, including climate, attic size, and money, determine the optimal form of insulation. Fiberglass batt, blown-in, and spray foam are typical choices.
How often should the attic insulation be replaced?
Attic insulation can survive for decades, but it must be inspected regularly for signs of deterioration or degeneration.
Can I install the attic insulation myself?
Yes, homeowners can install attic insulation but must adhere to safety requirements and use professional installation procedures.
How much does attic insulation cost?
Attic insulation costs vary according to the type of insulation used and the size of the attic. On average, homeowners may anticipate to pay $1,500 to $3,000.
Is attic insulation installation cost-effective?
Absolutely. While there’s an upfront cost, the savings on energy bills can quickly offset this investment.