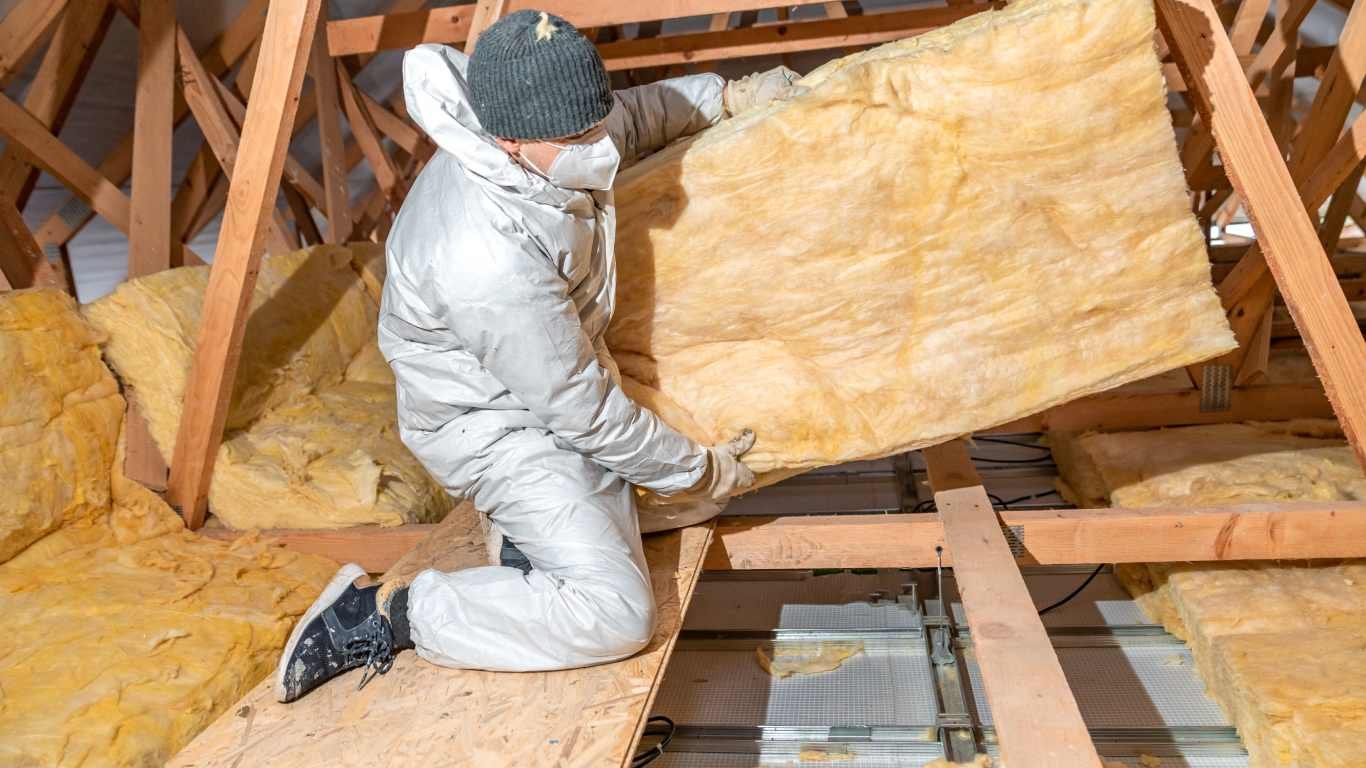
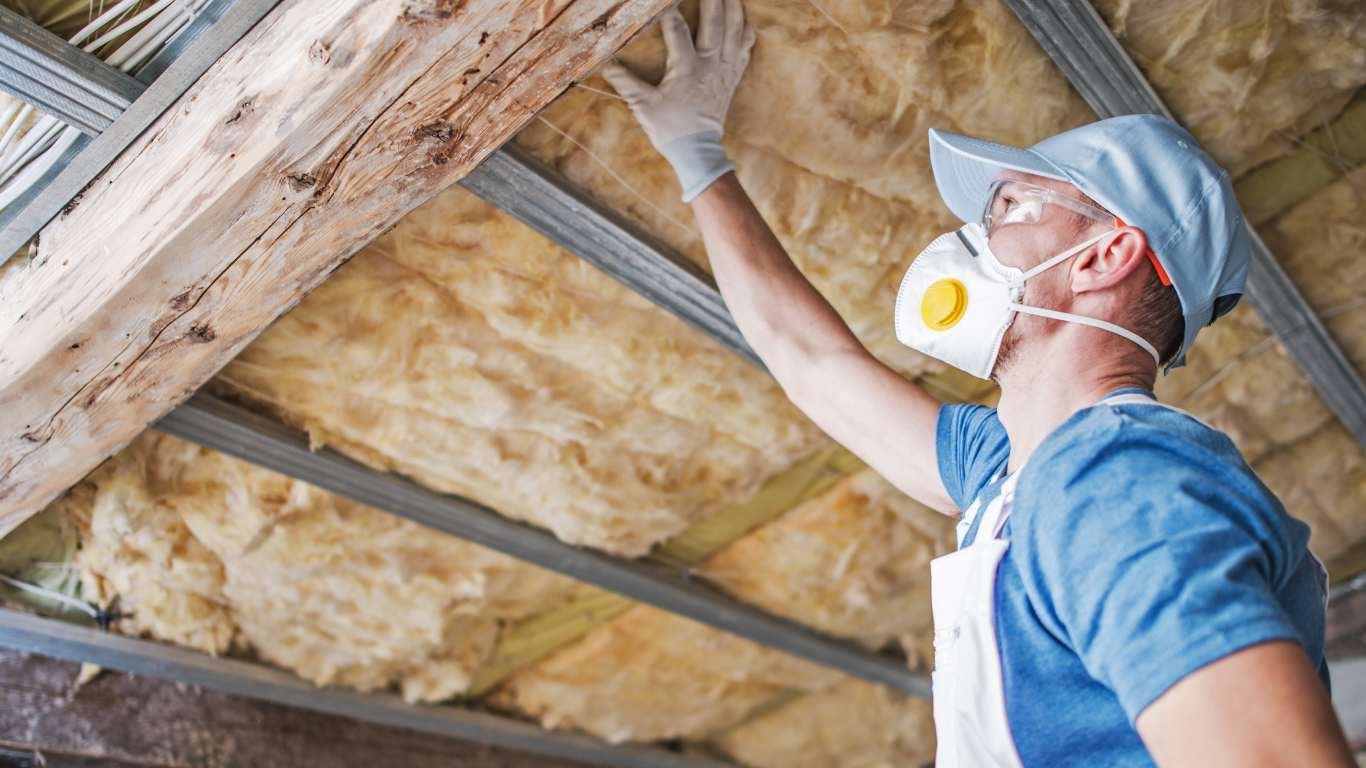
Is your attic feeling more like a heater in the summer and colder in the winter? Well, it’s a sign of the time that you should remove the attic insulation and replace it. Attic insulation removal cost can vary depending on your location and the type of insulation you have, but it’s an investment that can improve your home’s energy efficiency.
This post will help you how to remove insulation, step-by-step. Also, let you know about the government insulation rebate program, and why hiring a professional is the best course of action for this potentially tricky project.
Why do you need attic insulation removal services?
Attic insulation plays a vital role in energy efficiency. It traps warm air in the winter and cool air in the summer. However, damaged or old insulation can become a breeding ground for trouble. It can lose effectiveness, allowing heat to escape in the winter and enter in the summer. So, your energy bills may skyrocket.
Additionally, damaged insulation can trap moisture. So, it leads to mold growth and attracting pests. These issues are impacting your health risks. Mold resistant insulation can be a safer alternative to moldy insulation.
So, attic insulation removal is necessary for old and damaged ones to maintain an energy-efficient and healthy home environment.
Essential Steps Before Attic Insulation Removal
The following steps helps you to do attic insulation removal safely:
1. Be aware of Hidden Risk
Attic insulation removal can have safety hazards hidden in the old insulation. Over time, the attic environment becomes a good place for insects. Mold and water damage are potential threats, often seen as black streaks or a musty smell. So, removing the insulation un-carefully releases harmful toxins and mold spores. Spray foam and old blown-in insulation require special handling, as well. Identify these risks with a pre-removal inspection to ensure a safe and healthy process for you and your home.
2. Attic Accessibility: Key to Insulation Removal
Consider your home attic accessibility. The attic insulation removal process can get faster if there is more space than a cramped crawlspace choked with pipes. Here’s what to check:
- Is there any entry point like a window to access the vacuum in a truck parked near your house?
- Is your attic a maze of ducts and pips?
- Does the attic have enough space to work freely or hard-to-reach nooks that slow things down?
3. Choosing Your Attic Insulation Removal Methods: Machine vs. Manual
There is a high-powered vacuum to suck out insulation materials. This method can save time and money. You can do it by yourself to rent a gas-powered insulation vacuum with a long hose (around 150 feet). Some larger vacuums even come on trailers for easy transport.
There is an alternative method when insulation saturates with water or contains stray materials like wood chips or nails. It is better to bag insulation by yourself instead of using a vacuum. Because it can clog or damage it. Moreover, if insulation involves toxins, water damage, or foreign objects, a manual approach to bagging the insulation becomes necessary. To avoid spreading these toxins in the air more and more.
Tip: Always prioritize safety! When in doubt, consult a professional insulation attic service for proper removal, especially if you suspect mold or other health hazards.

4. Protecting Yourself During Removal
Old insulation removal isn’t as easy as it may seem. It contains tiny fibers that can irritate your skin and lungs. So, you should consider the following instructions:
- Wear long sleeves and pants to cover exposed skin.
- Use a mask to safeguard your respiratory system.
- Use cool water to wash exposed skin. Do wash with warm water because it can trap particles.
Tip: Fiberglass can cause a stinging sensation. Avoid scratching and wash the area with cool water to remove particles.
Attic Insulation Removal: A Step-by-Step Guide
Step 1: Gear Up Essential Equipment for Attic Insulation Removal
- Rent a high-powered vacuum and bag for it, and also an extra hose.
- Gas to power the vacuum cleaner.
- Prepare protective clothing like coveralls, respirators, goggles, and heavy-duty gloves.
- Have a headlamp for better visibility in the attic.
- Duct tape for potential repairs.
- A friend who can monitor the vacuum for clogs, manage the insulation bags, and ensure a smooth operation.
Step 2: Make your job easier and prevent messes downstairs
Ensure that the way from the attic to the front door is smooth. Don’t let dust fall into your house. So, use plastic sheets or old blankets to cover the floor along your path during the attic insulation removal. Use a ladder to extend to the attic to go up safely and comfortably.
Step 3: Suit Up for Safety
Wear the protective before, such as gear, coveralls, respirator, goggles, and heavy-duty gloves.
Step 4: Remove the Insulation with a Vacuum
At first, you should ask your friend to monitor the vacuum for any clogs or malfunctions throughout the process. Then, you can go upstairs into the attic and start the attic insulation removal process. Utilize the powerful suction of the commercial vacuum hose to effectively remove the insulation, cleaning the attic floor as you go. Continue removing insulation and cleaning the attic floor until the job is complete.
Tip: Working in hot attics can be dangerous. Listen to your body and take breaks every 15 minutes, or sooner if needed to prevent overheating and ensure safety.
Step 5: Completing the Attic Insulation Removal

Now, securely bag all the removed insulation. After clearing the attic from dust, it’s time to pack up your gear. Carefully climb out of the attic, and remember to remove any protective coverings used inside your home to prevent dust from spreading. Finally, clean your tools and equipment and tidy the work area to leave everything spotless.
How Long Does Attic Insulation Removal Take?
The time it takes to remove attic insulation varies depending on whether you do it yourself or hire professionals.
- Professional Removal (1,500 sq ft attic): Professionals can complete the job in 4-6 hours because they have enough experience and professional equipment.
- DIY Removal (1,500 sq ft attic): Be prepared for 6-18 hours! But factors like tight spaces, unexpected debris, and the type of insulation (blown-in cellulose takes longer than pre-cut batts) can significantly impact the time.
The best way to remove them is to break down the attic into smaller sections and tackle them in smaller sections. This approach is perfect for tracking progress and scheduling well-deserved breaks (every 15 minutes).
Given the time commitment, plan for a multi-day or weekend project to ensure a smooth and successful attic insulation removal process.
Government rebate program for attic insulation
This program offers grants to help homeowners improve their attic insulation. The amount of rebate you receive depends on the size of the attic and how much insulation you need to add.
Eligibility to receive the Canadian government insulation rebate program is that you should insulate a minimum of 20% of your total attic area and also renew the insolation to a new one.
The insulation value increased according to the below table.
| Level of insulation at the time of the pre-retrofit evaluation | Insulation level to reach | Maximum Grant amount
|
| No insulation | RSI 8.81
(R-50) |
$1,800 |
| Less than or equal to RSI 2.11 (R-12) | RSI 8.81
(R-50) |
$1,800 |
| Greater than RSI 2.11 (R-12) and up to RSI 4.40 (R-25) | RSI 8.81
(R-50) |
$600 |
| Greater than RSI 4.40 (R-25) and up to RSI 6.16 (R-35) | RSI 8.81
(R-50) |
$250 |
For example, if you insulate 80% of your entire attic to a much higher R-value, you’ll get 80% of the maximum grant. Or, if you only insulate a portion of your attic, you’ll get a corresponding percentage of the maximum grant.
Tip: The total government insulation rebate for any combination of attic insulation projects cannot exceed a set limit (usually $1,800).
Attic Insulation Removal Cost
Several factors influence attic insulation removal costs, impacting the final quote. These factors include:
- The rebate amount is typically calculated based on two factors: the total area insulated (often a percentage of the attic’s square footage) and the achieved R-value (determined by the insulation thickness). This means strategically increasing your attic’s R-value and ensuring sufficient coverage can maximize your potential rebate.
- The chosen removal method (by hand vs. vacuum) directly impacts the attic insulation removal cost.
- If the attic maze of pips and ducts handles the process, it will take longer.
- The presence of mold or asbestos in attic insulation poses health risks. Dealing with these hazards requires specialized procedures, raising the overall removal project cost.
Why Hiring Professionals Makes Attic Insulation Easier and Safer
Are you going to remove the attic insulation by yourself? Before doing this, we let you know about the advantages of hiring professionals.
Stay Away from Unexpected Rodent
Unseen rodent problems are a common issue in attics. Professionals can address any infestations before starting an insulation removal project. It can save you time and health.
Protecting Your Health
Both fiberglass and asbestos insulation can irritate or pose health risks if not handled carefully. Undisturbed asbestos might not be an immediate concern, but caution is crucial with both materials. When in doubt about asbestos, always seek professional removal.
Need Safe Attic Insulation Removal in Ontario? Hire the Pros!
Confirmed Contacting Corp. offers a solution for your home. We provide free estimates for attic insulation removal Toronto and also attic insulation installation. Our experienced technicians will assess your needs and ensure a safe and thorough attic insulation removal process.
We handle all the paperwork and can connect you with trusted lenders to finance your project. Sit back and relax – we’ll take care of everything so you can enjoy a cleaner and more comfortable home.
