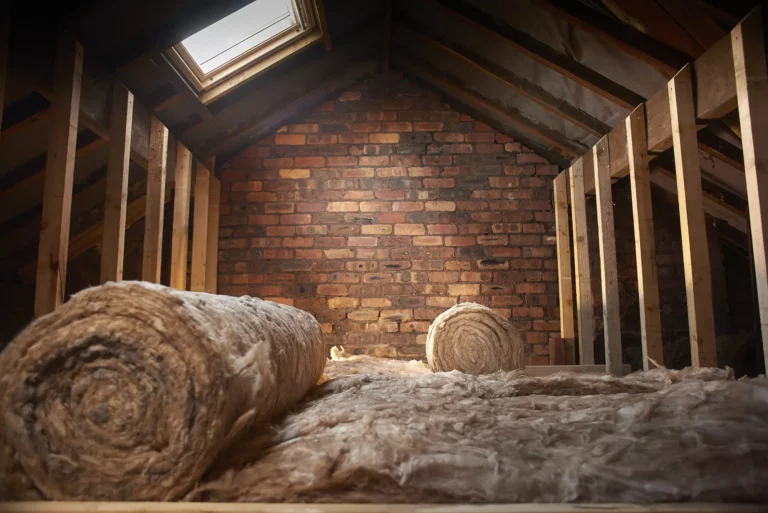
Is There Asbestos in Your Loft? What to Know Before Insulation Removal
If your home was built before the 1990s, there’s a chance that your loft insulation could contain asbestos—a hidden danger
Drywall taping bubbles can present several issues. One common challenge that most DIY lovers experience in drywall projects is the formation of bubbles under the tape. There’s only one main reason for bubbles appearing below the drywall tape poor installation.
Most people will try to cover the bubbles by applying a fresh coat of compound. But this only creates a more significant problem and makes the area prone to cracking. It’s better to fix the air bubbles before finishing instead of trying to cover it up. If left unfixed, any unevenness on the tape will still show when the wall is painted.
First, You must understand what goes wrong to avoid bubbles appearing on your next plasterboard installation. Several areas bubbled or became loose during installation because the compound was not fully embedded into the tape.
Bubbles can also occur as a result of poorly embedded joints. When you’re rushing to finish a project or don’t have enough compound to work with, it’s simple to leave holes underneath that generate bubbles. Before applying the tape, always use a generous amount of the mix.
Bubbles can emerge when you use a substance that does not have the proper consistency. For example, bubbles will likely occur if the combination is too thick. This is because dense compounds are complex to disperse. The mixture may even dry in certain parts before you have finished applying it, causing unevenness.
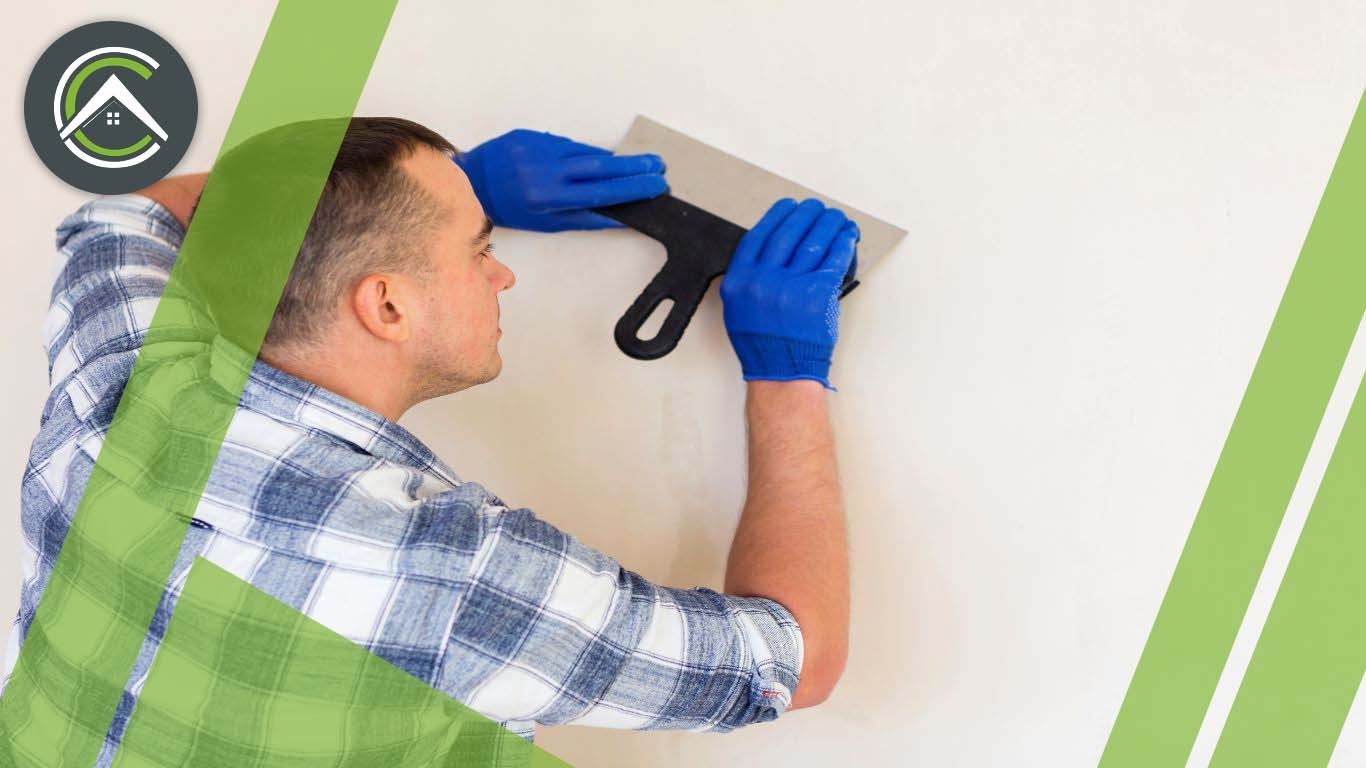
Select a joint compound that will produce the finest results. If you’re unsure what to use, ask for assistance at the supply store. Gather all required instruments, such as a knife with a wide enough blade to help spread the compound more efficiently. You’ll be astonished at how much the appropriate equipment can help you achieve a smooth and practical finish.
Before we get into what you should do, let us tell you what you should not do. When handling bubbles on plasterboard tape, several typical blunders are going around, so we thought we’d clear them up.
The first step is to paint. Under no circumstances should you paint over the bubble on your plasterboard tape. Masking a problem does not solve it. It only serves to conceal it. The beads remain beneath, and they may cause other issues. Furthermore, the bubbles will be much more visible with paint on top.
The second mistake is sanding. You can’t sand it off, either. Sanding may appear a decent alternative at first glance, but it is not. The bubbles are caused by trapped air behind the tape. Sanding through the bubble will wear through the plasterboard tape, which must remain intact. The covered drywall seam will shrink, bend, or split with too much sanding.
When the plasterboard tape is applied to the seam, it appears normal. Naturally, there may be a few creases in the video, which you may assume is typical. However, one or two bubbles appear after a few dirt applications.
A loose assembly causes the bubbles. Either the connection was poor, or you pushed too much mud out from behind it when you taped. Sometimes, you won’t see bubbles right away. They can appear once you rewet the tape. Because of the dampness on the surface, they can pop out from there.
Start at the end of the bubble formation with your utility knife. Drag the blade underneath the bubble to the other end. Stop where the mud becomes solid again. You don’t have to dig too deeply into the muck. The blade should be sharp enough only to apply light pressure.
Peel the bubble away from the remainder of the seam once you’ve sliced the top and bottom of it. Removing it should be easy, especially if the mud is still moist. Throw it away because you will never need it again.
The mud will then be reapplied. You can use the same taping knife or a different one. Depending on the area of the bubble you cut off, you may want to use another taping knife to ensure the joint compound floats effortlessly and without lumpiness.
Apply the mud to the knife and run it over the cut-out region. Make sure that the entire plasterboard tape is covered. You don’t want one piece to appear uneven or flatter than the others. Float it across the seam. Make the compound slightly broader than the width of the tape.
You could notice the spot where you cut the bubble in the mud, but that’s OK since you’ll fix that later. A few extra layers of soil will assist to balance things out and keep the look consistent.

You can no longer leave the cut-out region bare. The additional mud does not entirely address the problem. Cut or tear another piece of plasterboard tape. It should be large enough to cover the existing video underneath the coat. Measure roughly 12 inches (1 cm). The extra length ensures no gaps between the pieces of tape.
Place the tape directly on the drywall compound, centering it over the area. Pull the plasterboard knife down onto the tape while holding the top edge of the video. Apply one end of the new piece of tape to the gap, then overlap it with the current video.
Smooth out the tape with the putty knife so that it lays level on the plasterboard seam. This fresh tape must be free of bubbles. Everything must be flat and smooth. Press evenly into the compound to embed the video and remove bubbles. Small wrinkles are OK because they can be fixed later.
Finally, apply a small amount of joint compound using the edge of the taping knife over the fresh piece of tape. Pull the mixture from one end of the video to the other. You want a nice, thin layer of mud covering the entire video.
This mud layer doesn’t have to be thick to cover everything. Apply a thin coating of compound over the plasterboard tape strip. Allow the mixture to dry completely before performing this final step.
Allow it to dry for 24 hours to ensure that it sets evenly. The sandpaper can then be used for plasterboard finishing and any extra coatings that may be required. You may need to follow these steps whether you apply the tape manually or with a tool like a plasterboard taping banjo.
Perfection does not exist, and this is especially true in the drywalling industry. It will take a few attempts to achieve the desired outcomes, but you will.
You have all the tools you’ll need to accomplish your plasterboard installation precisely. And now that you know how to remove bubbles from plasterboard tape, you should be able to do so quickly.
A necessary part of any plasterboard repair job is drywall taping bubbles. During the process of applying the compound and sanding it smooth, it keeps the plasterboard pieces together. The plasterboard tape is solid and sticky, but it bubbles on the top sometimes when it’s put on.
There are several reasons why this might happen, but it can usually be avoided by using suitable materials and application methods. It’s okay if your tape gets a bubble even after you’ve followed all these tips. Re-taping and fixing the wall is always an option. Dealing with mistakes is essential to understanding them and avoiding making them again.
If you need an experienced contractor to ensure your project goes smoothly, error-free, and within the deadline, contact us at Confirmed Contracting Corp.
Why Do Drywall Tape Bubbles After Drying?
Realistically, it is determined by the number of coats on your wall. If you’re on the first layer, you’re probably dealing with a flaw in the tape itself that didn’t show up until after you painted it. It could have been there previously, but you couldn’t see it because of the matte finish of the compound and primer. If the bubble remains after your second coat, it signifies that any repair you attempted to correct failed. You’ll have to sand it down and restore it.
How To Prevent Drywall Tape From Bubbling?
If you want to keep your plasterboard tape bubble-free, the best thing you can do is apply your compound and tape slowly and carefully. Many professionals and do-it-yourselfers try to proceed too fast to apply more mixture before it hardens. This leads to shoddy work, regardless of how well you’ve been trained!
How to Fix Bubbles In Drywall Tape After Painting?
Suppose you’re experiencing bubbles after painting and have done everything you can to repair the tape. In that situation, you can use fiberglass mesh plasterboard tape instead of traditional video to reduce bubbles.

If your home was built before the 1990s, there’s a chance that your loft insulation could contain asbestos—a hidden danger

Canadian winters are no joke, and heating your home efficiently is more important than ever. In 2025, cold climate heat

Your basement plays a huge role in your home’s comfort, energy efficiency, and even air quality—but only if it’s properly
WhatsApp us