Tile installation is a complex process that requires careful planning and attention to detail. Whether you’re installing tiles in a bathroom, kitchen, or any other room in your home, there are several steps you need to follow to ensure a successful installation. In this article, we’ll cover everything you need to know to install tiles in your home, from choosing the right materials to properly preparing your surfaces and laying your tiles.
Choosing your tiles
The first step in any tile installation project is choosing the appropriate tiles. There are a wide variety of tiles available, each with its own unique style, texture, and color. When selecting tiles for your project, consider the following factors:
- Material: Tiles can be made from a variety of materials, including ceramic, porcelain, glass, and natural stone. Each material has its own strengths and weaknesses, so choose the one that best suits your needs.
- Size and Shape: Tiles come in many sizes and shapes, from small, square mosaics to large, rectangular planks. The size and shape of your tiles will depend on the style and layout of your room.
- Color and Pattern: Tiles come in a wide range of colors and patterns, so choose the one that best complements your room’s décor.
Tile installation steps
Preparing Your Surfaces
Before you start laying your tiles, you need to prepare your surfaces. It involves removing existing flooring or wall coverings, thoroughly cleaning the surface, and ensuring it is level and free of any cracks or damage. The preparation process will depend on the type of surface you’re working with. Here are a few tips for preparing surfaces:
- Concrete: Tile installation on a concrete surface requires a concrete grinder or shot blaster to smooth out any rough spots or high points. You should also fill any cracks or holes with a concrete patching compound and allow it to dry before installation.
- Wood: If you’re installing tiles on a wooden surface, you’ll need to ensure that the surface is stable and free of rot or damage. You should also install a cement backer board over the wooden surface to provide a stable, level base for your tiles.
- Drywall: Installing tiles on a drywall surface requires installing a cement backer board over the drywall to provide a stable base for your tiles. You should also ensure the drywall is level and free of cracks or damage.
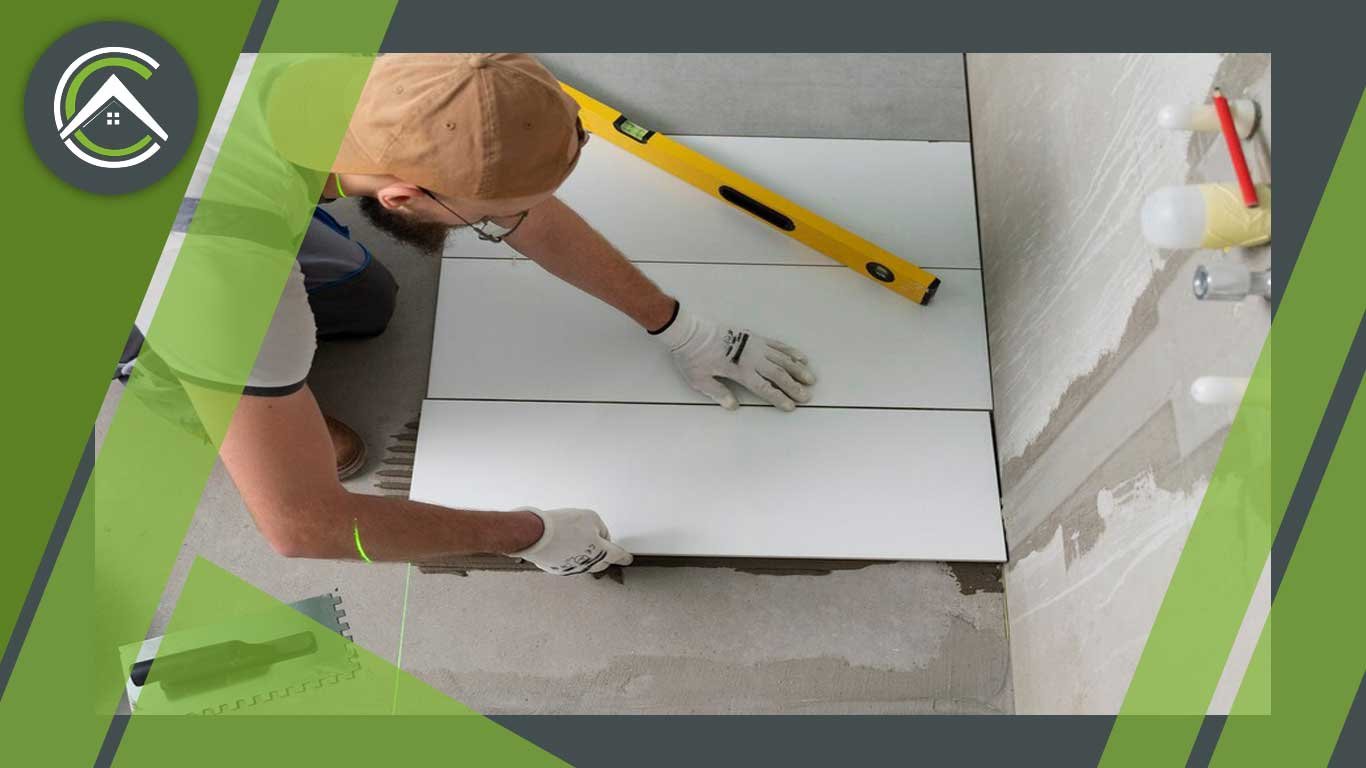
Laying Your Tiles
Once your surfaces are prepared, it’s time to start laying your tiles. The process involves applying a layer of adhesive to the surface, then press the tiles into the adhesive in a specific pattern. Here’s a step-by-step guide to laying tiles:
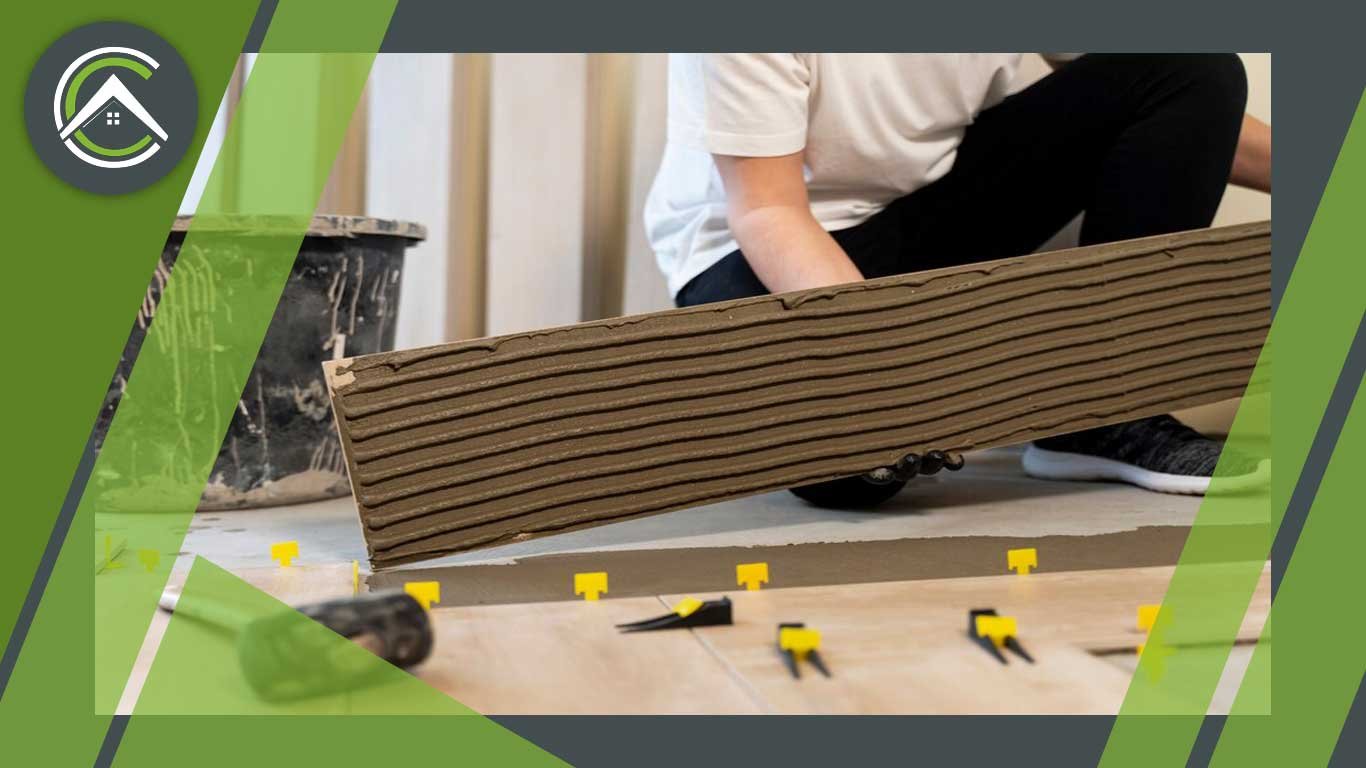
- Step-1: Mix your adhesive according to the manufacturer’s instructions. The adhesive should have a consistency similar to peanut butter.
- Step-2: Starting at the center of the room, use a notched trowel to spread a layer of adhesive on the surface. Work in small sections, spreading only as much adhesive as you can cover with tiles in about 10 minutes.
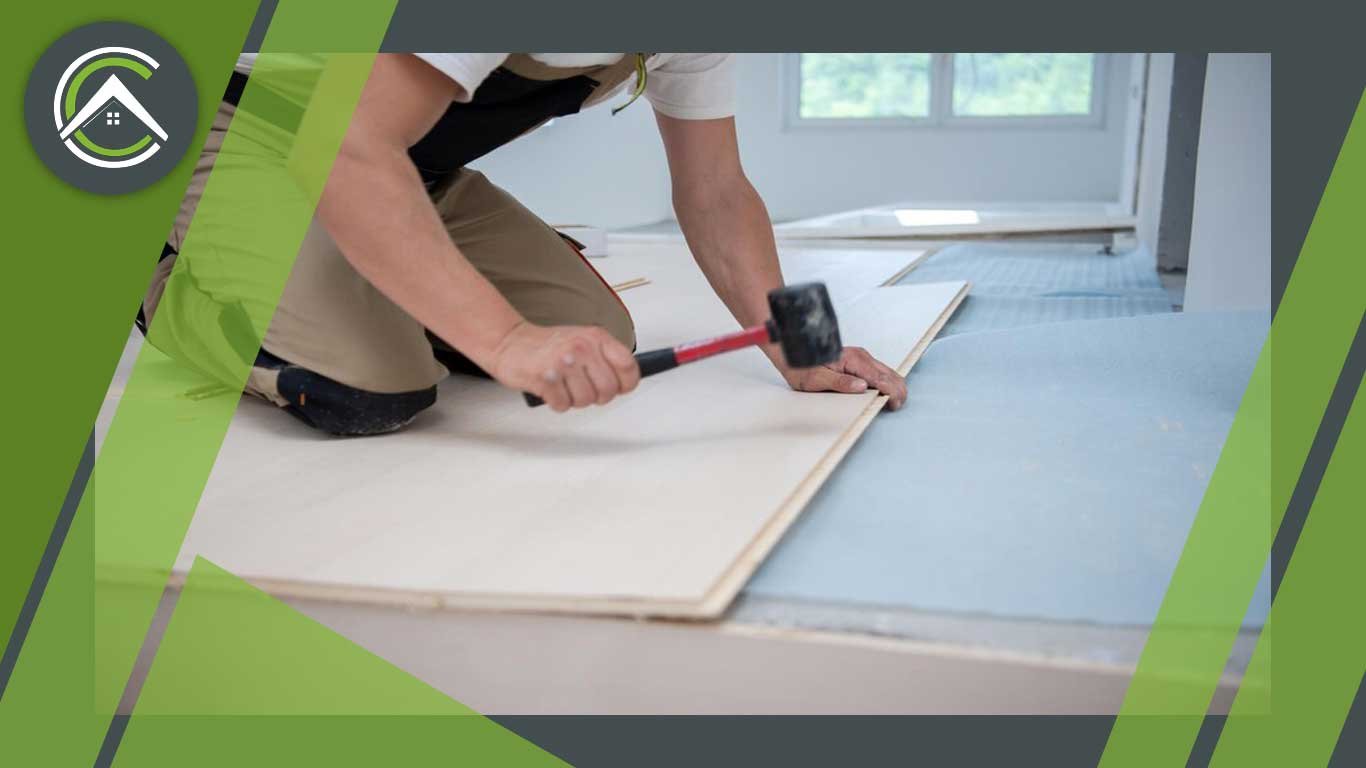
- Step-3: Press your tiles firmly into the adhesive, using tile spacers to ensure they are evenly spaced. Continue laying tiles in the same pattern until you reach the edge of the room.
- Step-4: After you’ve laid all of your tiles, cut them to fit around the room’s edges. To do this, measure and mark your tile, then use a tile cutter or wet saw to cut.
- Step-5: Once all of the tiles have been installed and the adhesive has dried, use a grout float to apply grout in between the tiles.
Applying Grout
- I. Grouting is a crucial step in any tile installation project. The grout fills in the gaps between the tiles, providing a stable surface and preventing debris and moisture from getting between the tiles.
- II. Before applying grout, ensure that the adhesive has completely dried. It usually takes at least 24 hours, but you should consult the manufacturer’s instructions for the specific adhesive you are using.
- III. Mix the grout according to the manufacturer’s instructions. Be sure to use a mixing paddle and a drill to ensure that the grout is thoroughly mixed and has a consistent texture.
- IV. Use a rubber float to apply the grout to the tiles. Hold the float at a 45-degree angle and use a sweeping motion to force the grout into the gaps between the tiles.
- V. Work in small sections, spreading the grout over the tiles and pressing it into the gaps with the float. Work diagonally across the tiles to ensure the grout fills in the gaps completely.
- VI. Wipe away any excess grout with a damp sponge before it dries to prevent it from hardening on the tile surface and make cleanup easier later.
- VII. Allow the grout to dry for at least 24 hours before walking on the tiles. It will give the grout time to cure and set, ensuring a strong bond between the tiles.
- VIII. Once the grout is dry, use a grout sealer to protect the grout from moisture and stains. Follow the manufacturer’s instructions for the specific sealer you need.
- IX. Regularly clean your grout to prevent dirt and grime from building up. Use a mild cleaner and a soft brush to gently scrub the grout, being careful not to damage the tiles.
- X. If you notice any cracks or gaps in the grout, repair them as soon as possible to prevent further damage to your tiles.
By following these steps for applying grout during a tile installation project, you can ensure a successful and durable result that will last for years.
How to do floor tile installation?
Here’s a step-by-step guide to floor tile installation:
- Prepare the surface: Before beginning the tile installation process, make sure the surface is clean, level, and free of any debris or imperfections. If necessary, use a self-leveling compound to even out any bumps or dips.
- Measure and mark: Use a chalk line to mark the center of the room, then use a measuring tape to determine the size of the tiles needed and to establish a layout that minimizes cuts and maximizes the coverage.
- Mix the adhesive: Follow the manufacturer’s instructions to mix the adhesive, using a drill and mixing paddle to ensure a consistent texture.
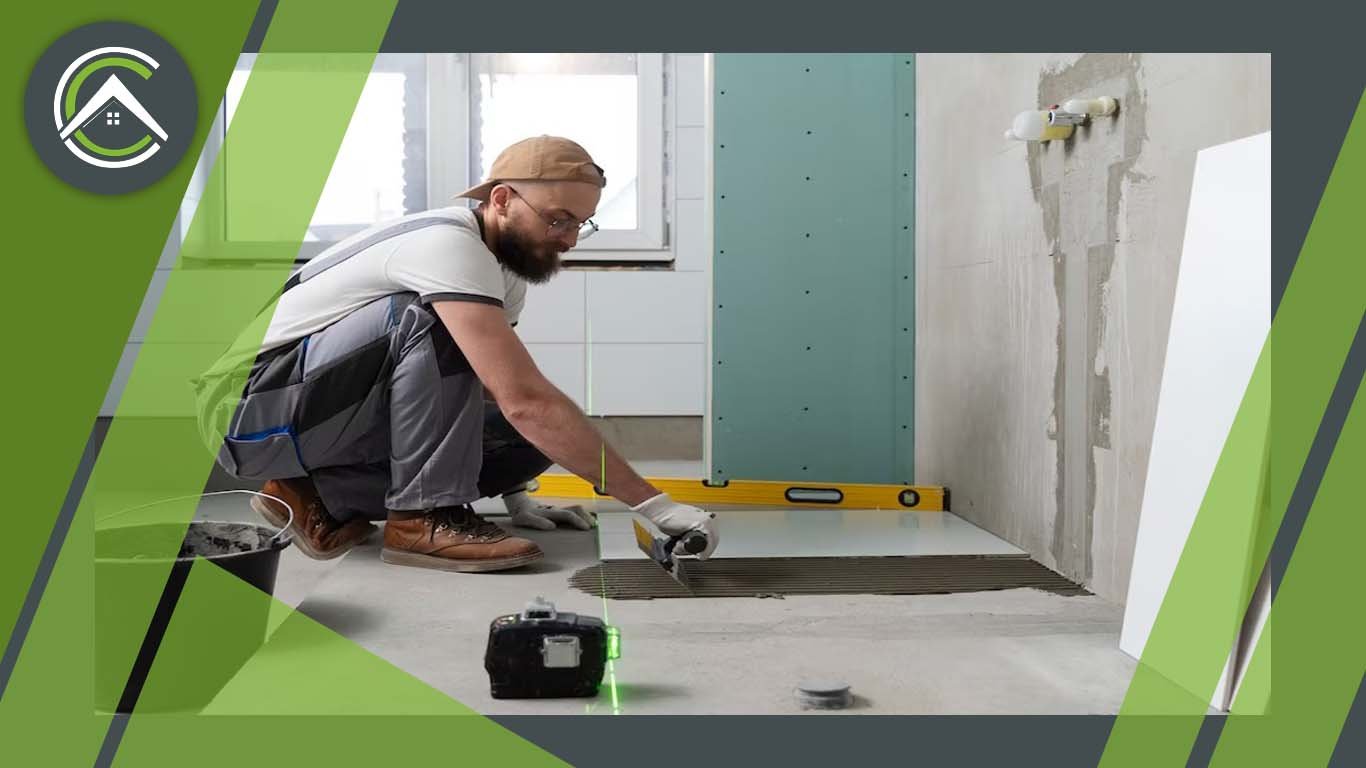
- Apply the adhesive: Spread the adhesive onto the surface with a notched trowel, working in small sections and being careful to maintain an even depth.
- Lay the tiles: Place the tiles onto the adhesive, using tile spacers to ensure even spacing and alignment. Use a level to check that the tiles are flat and level.
- Cut the tiles: Use a tile cutter or wet saw to cut the tiles as needed to fit around edges and obstacles.
- Let the adhesive dry: Allow the adhesive to dry for the amount of time recommended by the manufacturer.
- Apply grout: Once the adhesive is dry, use a rubber float to apply the grout to the gaps between the tiles, wiping away any excess with a damp sponge.
- Let the grout dry: Allow the grout to dry for the amount of time recommended by the manufacturer.
- Clean the tiles: Once the grout is dry, use a clean cloth to buff away any haze or residue from the surface of the tiles.
By following these steps for floor tile installation, you can create a durable and attractive surface that will surely last for years.
What are waterproof tiles for the bathroom?
When you go for bathroom tile installation, you’ll need to use waterproof tiles to protect the underlying structure from water damage.
Here are some popular types of waterproof tiles for the bathroom:
- Porcelain tiles: Porcelain is a durable and water-resistant material that can withstand high levels of moisture and humidity.
- Ceramic tiles: Ceramic tiles are a popular choice for bathrooms due to their affordability, durability, and water resistance.
- Natural stone tiles: Natural stone tiles like granite, marble, and slate can provide a luxurious and elegant look to your bathroom while also offering excellent water resistance.
- Vinyl tiles: Vinyl tiles are a cost-effective and waterproof option that can mimic the look of more expensive materials like natural stone or wood.
- Glass tiles: Glass tiles are non-porous and highly resistant to water and stains, making them an ideal choice for bathrooms.
When going for waterproof tile installation, consider the size, color, tile pattern, and level of slip resistance they offer. By choosing the proper tiles for your bathroom, you can create a beautiful, functional space that is both stylish and practical.
Bathroom tile renovation ideas
Here are a few bathroom tile renovation ideas that can transform the look and feel of your bathroom:
- Subway tiles: Classic and versatile, subway tiles can be installed in many patterns and colors to create a clean and modern look.
- Mosaic tiles: For a more artistic and decorative touch, consider installing mosaic tiles, which come in a wide range of designs and colors.
- Large format tiles: Installing large format tiles can give your bathroom a sleek and modern look while making the space feel larger.
- Wood-look tiles: For a warm and rustic feel, consider installing wood-look tiles, which mimic the look and texture of natural wood without the maintenance requirements.
- Geometric tiles: To add a bold and contemporary touch, consider installing geometric tiles in many shapes and colors, such as hexagons, diamonds, or chevrons.
By incorporating these tile installation ideas into your bathroom remodeling, you can create a beautiful and functional space that fits your personal style and needs.
Tile installation cost
The cost of tile installation can vary depending on several factors, including the size and complexity of the project, the type and quality of tiles being used, and the labor costs in your area. On average, you can expect to pay between $5 and $15 per square foot for tile installation, although this cost can be higher for more complex projects or high-end materials. To get an accurate estimate for your project, it’s best to get a quote from reputable tile contractors.
Tile shower remodel cost.
The cost of tile shower remodeling can vary depending on several factors, such as the shower’s size, the type and quality of tiles, the labor cost, and additional features such as a new shower door or plumbing upgrades.
On average, you can expect to pay between $1,000 and $3,000 for a basic tile shower remodel, although this cost can be higher for larger or more complex projects.
If you’re looking to add additional features or upgrade the plumbing, the cost can increase significantly. A tailored high-end tile shower, a glass shower door, and multiple showerheads can cost more than $10,000. To get an accurate estimate, get a quote from reputable tile contractors.
FAQ
What are Japandi bathroom tiles?
Japandi bathroom tiles combine Japanese elements and Scandinavian design to create a sleek, minimalist aesthetic. These tiles often feature natural materials like wood, stone, and bamboo, as well as muted, simple colors and geometric patterns. Japandi bathroom tiles can help create a calming, spa-like atmosphere in your bathroom while also providing a touch of modern elegance.
Are porcelain tiles waterproof?
Porcelain tiles are highly water-resistant and can withstand exposure to water and moisture without getting damaged. Due to their low porosity and density, porcelain tiles are also highly resistant to staining and abrasions, making them a popular choice for bathrooms, kitchens, and other areas that are prone to moisture and spills. However, it’s important to note that while porcelain tiles are highly water-resistant, they are not completely waterproof and still require proper installation and maintenance to ensure their longevity.
How to install tile on the wall?
To install tiles on a wall, you will need to prepare the surface by cleaning and priming it, measuring and marking the layout of the tiles, and applying adhesive to the wall. Next, place the tiles onto the adhesive, using tile spacers to ensure even and consistent spacing. Finally, apply the grout to the gaps between the tiles and wipe away any excess to complete the tile installation on the wall.
How to install tile backsplash installation?
Tile backsplash installation is a great way to add style and functionality to your kitchen or bathroom. To install a tile backsplash, you will need to measure and cut the tiles to fit, apply adhesive to the wall, and then lay the tiles in a pattern, using tile spacers to maintain consistent spacing. Once the tiles are in place, apply the grout to the gaps between them and wipe away any excess to complete the tile installation.
How to lay floor tiles on concrete?
To lay floor tiles on concrete, you will need to prepare the surface by cleaning and leveling it, apply a layer of thin-set mortar to the surface, and then lay the tiles onto the mortar using tile spacers to maintain even spacing. Once the mortar has cured, apply the grout to the gaps between the tiles and wipe away any excess to complete the tile installation on the concrete surface.
Are you looking for tile installation services in Toronto?
If you are looking for reliable and professional tile installation services in Toronto, look no further than the ConfirmdC team. Our team of experienced tile installers can handle all types of tile installation projects, from small bathroom renovations to large commercial projects. Contact us today to schedule a consultation and get started on your project.