
Whether you want to replace the old sink or just want to install a bathroom basin from scratch, you’ll need to know how to install a bathroom sink plumbing quickly and error-free. Here is a DIY guide to help your sink installation go safely and correctly without fuss!
Bathroom sink plumbing diagram: pedestal basin diagram
One of the most common types of bathroom sinks is a pedestal basin, hiding the pipework behind it. Essentially, there are two common styles for pedestals, traditional and modern styles. The image below is the simple but powerful pedestal basin diagram.
Wall-hung basin diagram
A newer design in every bathroom sink plumbing is a wall-hung basin that growing in popularity year by year. It’s a great choice for a small bathroom and helps save on space. It has a wall-mounted basin, and some models have a semi-pedestal.
Note: Before going to the heart of the project, measure up accurately to know which type and size you’ll need.
The Tools You Need for Bathroom Sink Plumbing
- Pliers
- Screwdrivers
- Pencil
- Silicone
- Drill
- Sprit level
- Adjustable Spanner
- Plumbing Sockets
- Tape measure
It’s a good piece of advice to a have bucket and an old sheet for the floor nearby when you go for the installation of bathroom sink plumbing.

The Installation of the Bathroom Sink Plumbing Kit
The guideline below is helpful for those who already have a bathroom sink in place and now would like to learn how to replace it with the new one.
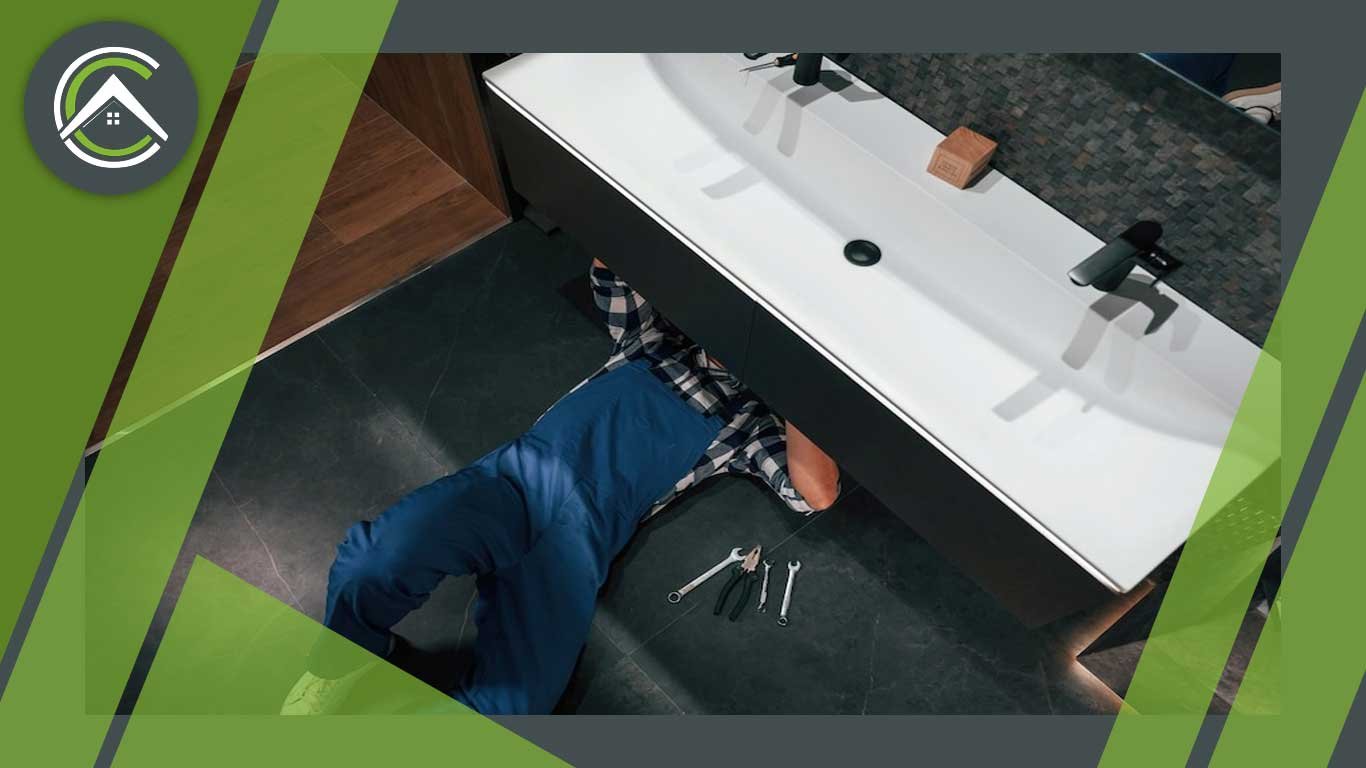
Note: If you’re replacing a full pedestal basing, it’s better to ask a professional for help because you might need to reroute the plumbing behind the bathroom wall.
Here is a DIY guideline:
- At the mains, turn off the water.
- By using the pliers and plumber’s wrench, disconnect the taps. Keep a towel or bucket nearby to catch any possible water leaks from the lines.
- Remove the sink’s drain connection. Look for a metal or plastic nut that is typically found on the floor or the wall and loosen or unscrew it with your hand. Use a pair of pliers to gently loosen the nut if it’s too tight.
- Silicone mounted the sink to the wall; cut the silicone away with a knife to lift the basin up from its position.
- Now, you can remove the bathroom sink. Clear the space for the new one.
Bathroom sink plumbing: measuring up
First of all, you’ll need to measure up the tape, pedestal basin, and wall-hung basin and write down the width, height, and depth.
How to Install a Bathroom Sink Plumbing?
Step 1. Switch off the water supply valves.
Before begin installing the bathroom sink plumbing, turn off the water supply. Usually, hot and cold flexi-pipes with compression fittings are located underneath the sink, turn the compression fitting’s screw roughly one-quarter of the way to halt the water flow.
To ensure no water is coming through the pipes, turn off the water at mains whether or not your taps have compression fittings.
Step 2. Put your sink in position with caution and make a pencil mark on the wall.
Put the bathroom sink in a place where you’d like to put it there, and then mark the area with a pencil.
To install bathroom sink plumbing, use a spirit level to find the center, and mark this position on the wall and floor. Now, carefully take the sink away and lie it on a protective sheet on the floor to install the first basin taps and waste.
Now, you need to mount the wall-hung basin on the wall. If your wall is weak or you’ve got a partition wall, use a wall-hung basin frame to install it safely. If you don’t have enough skills, we highly recommend you hire a professional.
Note: If drilling new holes or moving the sink to a new location, be sure to check for any hidden pipes or cables behind the wall.
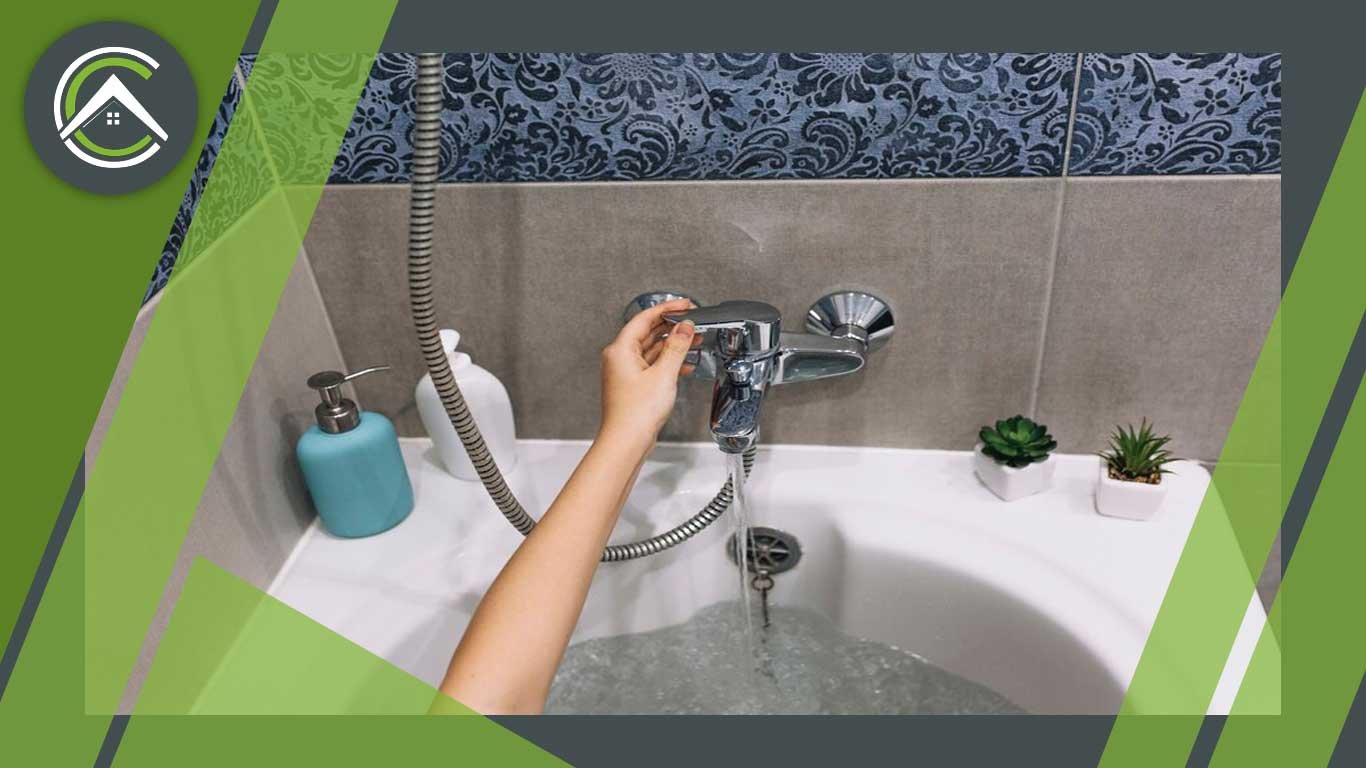
Step 3. Set up the taps
It’s quite easy to install the taps on your basin. If you recently purchased new basin taps for your bathroom sink plumbing, you can follow the installation instructions that came with them.
After attaching the threaded post to your tap, place the tap into the basin hole so that it sits on top of the basin and the thread protrudes below. Make sure the tap is snugly installed by using the washer. To establish a strong connection, tighten the nut tightly into the post. Lastly, join the flexi-pipes.
Step 4. Install plumbing
Insert the waste into the plughole, and try to remember the direction of the overflow cutout on the waste if the bathroom sink has an overflow. Align the cutout, apply silicone to the thread of the waste, and attach the washer for a secure fit.
Screw the new nut onto the thread, ensuring that the overflow holes are aligned from the waste to the basin. To prevent it from moving out of sync, insert a screwdriver down through the plughole (No pun intended). Now, connect the waste to the trap and ensure that it is securely tightened
Step 5. Use the provided fixings to securely fasten the bathroom sink in place.
Using the fixing kit provided to mount the basin to the wall securely. Line up the pedestal where you originally marked it up and then gently sit the basin on top of the pedestal. Check that the basin is aligned with the front of the pedestal by looking underneath it. If it is not aligned, adjust the position carefully. Once you are satisfied with the position, use a spirit level to ensure that it is level. Afterward, move the basin and pedestal away from the area and prepare to add the fixing bolts.
In the following, consider these points:
- Locate and mark the holes for the fixings on the wall, then drill the holes and fill them with wall plugs.
- Use a spanner to fit the bolts to the wall and align the pedestal and basin.
- Fasten the securing bolts to the wall bolts and ensure that they are tight.
- Check that the bathroom sink is fitted correctly and is level.
Step 6. Connect water pipes and turn on the water supply
- Connect the taps to the copper domestic pipes using a compression fitting.
- Turn the screw on the compression fitting a quarter of the way to allow water flow.
- Switch on the water at the mains if it was turned off earlier.
- Check that the taps are working properly and test for any leaks.
- Now, you’ll need to seal the sink at the back with silicone, where the basin meets the wall.
FAQ
What pipes are needed for a bathroom sink?
Typically, hot and cold water supply pipes are needed for bathroom sink plumbing.
What is the standard bathroom sink plumbing rough in?
The standard bathroom sink plumbing rough-in is usually around 21 inches (53 cm) from the finished floor to the center of the drain.
How do you plumb a new sink?
To plumb a new sink, you will need to:
- Turn off the water source and detach the former sink.
- Install the faucet and drain assembly.
- Attach the faucet to the water supply lines.
- Attach the drain assembly to the waste pipe.
- Install the sink and secure it with mounting hardware.
- Turn on the water supply and check for any signs of leakage..
Final words
Please share with us your DIY experience in installing bathroom sink plumbing.
Always remember, ConfirmedC is here to help you and make everything easy for you.